1. Point the telescope as close as
possible to the North celestial pole (near the star Polaris).
2. Enable sidereal tracking of the mount.
3. Launch MaximDL and set camera options
(filter, temperature, etc).

4. Launch C2A and open the image
processing window (F11 key)
5. Specify an exposure time for the
images that will be made during the King polar alignment process (typically
between 1 and 5 seconds)
![]()
6. Specify a time separating the two King
method exposures in the box at the bottom left of the Acquisition
area. You would typically use 10 minutes, or 600 seconds, so that stars have
time to drift significantly. Note that you can start the iteration process
with lower time values.
![]()
7. Launch the King method by clicking the button at the bottom of the Acquisition area. A first image is then taken and displayed.
![]()
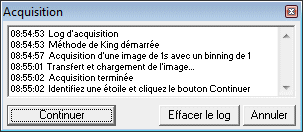
8. A small log window with command buttons is displayed on the screen.

9. Adjust the thresholds of the image,
then select a bright (but not saturated) star and draw a rectangle around it.
Once the star has been selected (you can verify that the selection is ok in
the PSF area of the image processing window), click the Continue
button in the small dialogue window. A red ring is displayed around the
selected star.

10. When the time interval between the
two King method exposures expires, a second image is automatically taken by
C2A.
11. Select the same star as in the first image. A yellow ring is then displayed on the image. Click Continue. A blue ring is then displayed on the image which indicates the position to which the star used must be brought to correct the polar alignment.
![]()
12. Adjust the zoom level so that the
reference star and the position to which it must be brought can be seen
clearly. Click Continue.

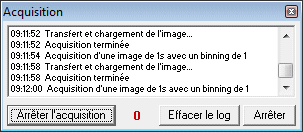
13. C2A then enters a loop of image acquisition. Then simply adjust azimuth and height of the mount to bring the reference star inside the blue circles in the image.
14. Once the reference star is at the correct position in the blue circles, stop the King method by clicking the Stop button.
